2. Quick Start
Get your code on a machine
This quick start guide is intended to get you up and running deploying working code to your machine within 15 minutes. We assume you have npm installed and have a basic understanding of Javascript ES6.
If you would like to skip the tutorial and work through it yourself then either download the .zip here or copy and paste the below into your terminal
git clone https://github.com/vendOS-io/QuickStart1. Download the package
All machine communication can be done with our simple promise based package called vendOS. You can download the minified file here
https://raw.githubusercontent.com/vendOS-io/vendOS-js/master/lib/vendos.min.jsWe are going to do the rest of this guide using the minified download, but if you are integrating into a larger project you can use NPM like below:
npm install --save vendos2. Create a Project Folder and Files
All thats needed to get going is an index.html page and the vendos package, but we are going to layout this example project in a standard manner.
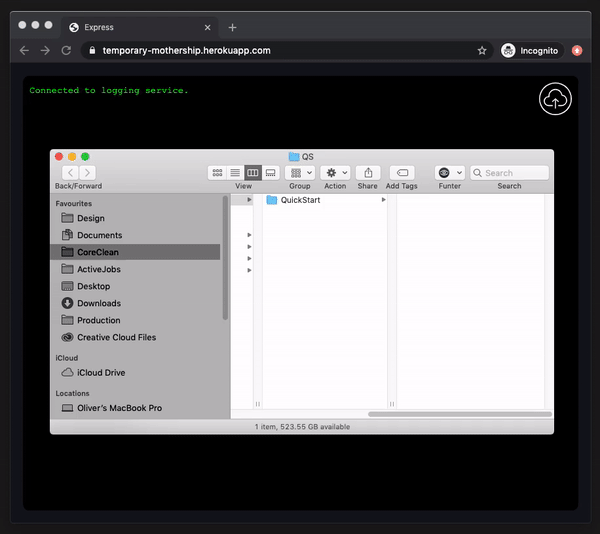
Create the below file structure:
QuickStart/
├── js/
├───── vendos.min.js
├───── main.js
├── css/
├───── style.css
├── index.html
3. Set up the HTML
We have scaffolded out a very simple page below.
Note: We always recommend keeping things simple on the machine. For example, there is no need to have selectable text, rollover states, seo optimisation, responsive design etc. Its good to keep in mind that your code is just sitting on the machine running in a single browser and the window is always the same size!
<!-- File: index.html -->
<html>
  <head>
    <script src="./js/vendos.min.js"></script> <!-- Import the package -->
  </head>
  <body>
    <div class="error-display" id="error"></div> <!-- Error box -->

    <div class="vend-button" id="vend">VEND</div> <!-- Vend button -->

    <script src="./js/main.js"></script> <!-- Import the javascript -->
  </body>
</html>
3. Initial configuration
When creating the vendOS instance you can pass a variety of initial settings to be applied to the base machine. All options are explored in the Configuration section of this documentation. For now we will roll with the defaults.
// File: js/main.js
const OS = new VendOS()
4. Vending
For the sake of ease we have just used vanilla javascript to get you up and running quickly.
You can see in the below example that we just have an event listener for the vend button and then we call the OS.Machine.vend.random method, which returns a promise.
Note: We have many types of vend requests and options for them, please check it all out in the Vend section of this documentation.
The .then will be called after a successful vend has taken place. The .catch block will catch any other errors that might occur. These could be malformed arguments, a failed vend, runtime errors etc.
// File: js/main.js
const OS = new VendOS()

button.addEventListener('click', () => {

  OS.Machine.vend.random()
    .then(console.log)
    .catch(console.error)

})
5. User Feedback
Whilst the machine is vending you will want your users to know what's going on. In the code below, the button will dispatch a vend request to the machine and disable the button while it's vending. When it has finished vending the button will return to its previous state. We have also added an error display so you can see if your queries are properly formatted, but you would not include this in a production build.
Read through the comments to get a clearer picture of what is going on.
// File: js/main.js
const OS = new VendOS()

let button = document.getElementById('vend')
let error = document.getElementById('error')

button.addEventListener('click', () => {

  // if no vend is in progress
  if (button.enabled) {

    // disable the button and change its text to indicate vending
    button.enabled = false
    button.textContent = 'VENDING'

    // issue a vend command to the machine
    OS.Machine.vend.random().then(() => {

      // when the machine has finished a vend we can temporarily
      // inform the user by displaying a vended message within the button
      button.innerHTML = 'VENDED'

      setTimeout(() => {

        // after a suitable period of time we can return
        // the button to its original state, ready for another vend
        button.enabled = true
        button.textContent = 'VEND'

      }, 2000)

    }).catch((e) => {

      // if the vend failed we should return the button
      // to its original state while also informing the user of the error
      button.enabled = true
      button.textContent = 'VEND'
      error.innerHTML = `<p>${JSON.stringify(e)}</p>`

    })
  }
})
6. Uploading
Finally once you have everything together its time to upload!
- Zip up your project directory (if using react or another frontend framework don't forget to build first and then upload the build directory!)
- Navigate to your provided upload link (if you do not have one, please email [email protected])
- Click the cloud icon and select your local zipped folder
- Wait for the 'SUCCESSFUL UPLOAD' message
- The machine will automatically switch over to the new files
- Have a go with your new app!